Zenodo data management#
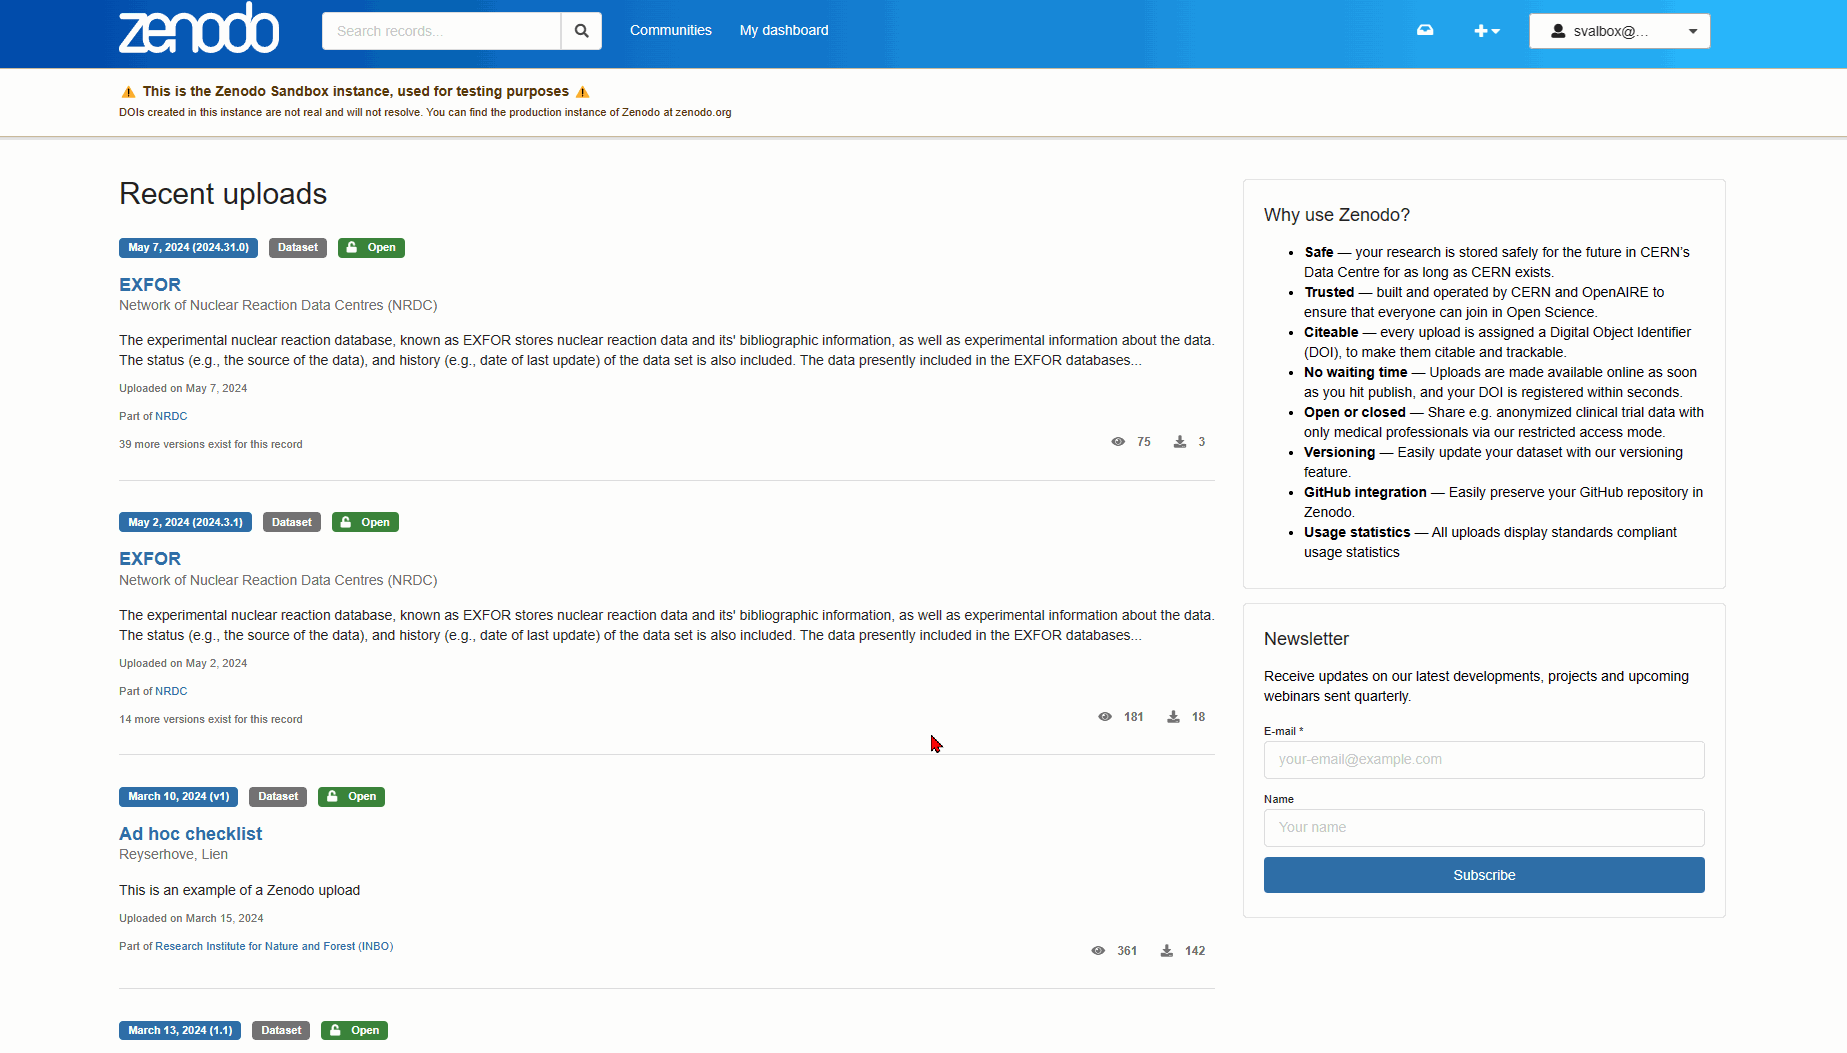
Fig. 9 Once logged into Zenodo, data managers can access all submission requests in the Zenodo Svalbox community. Data managers have full access to the data sets and should download all files within a request for manual inspection prior to approval/submission to the Svalbox databases.#
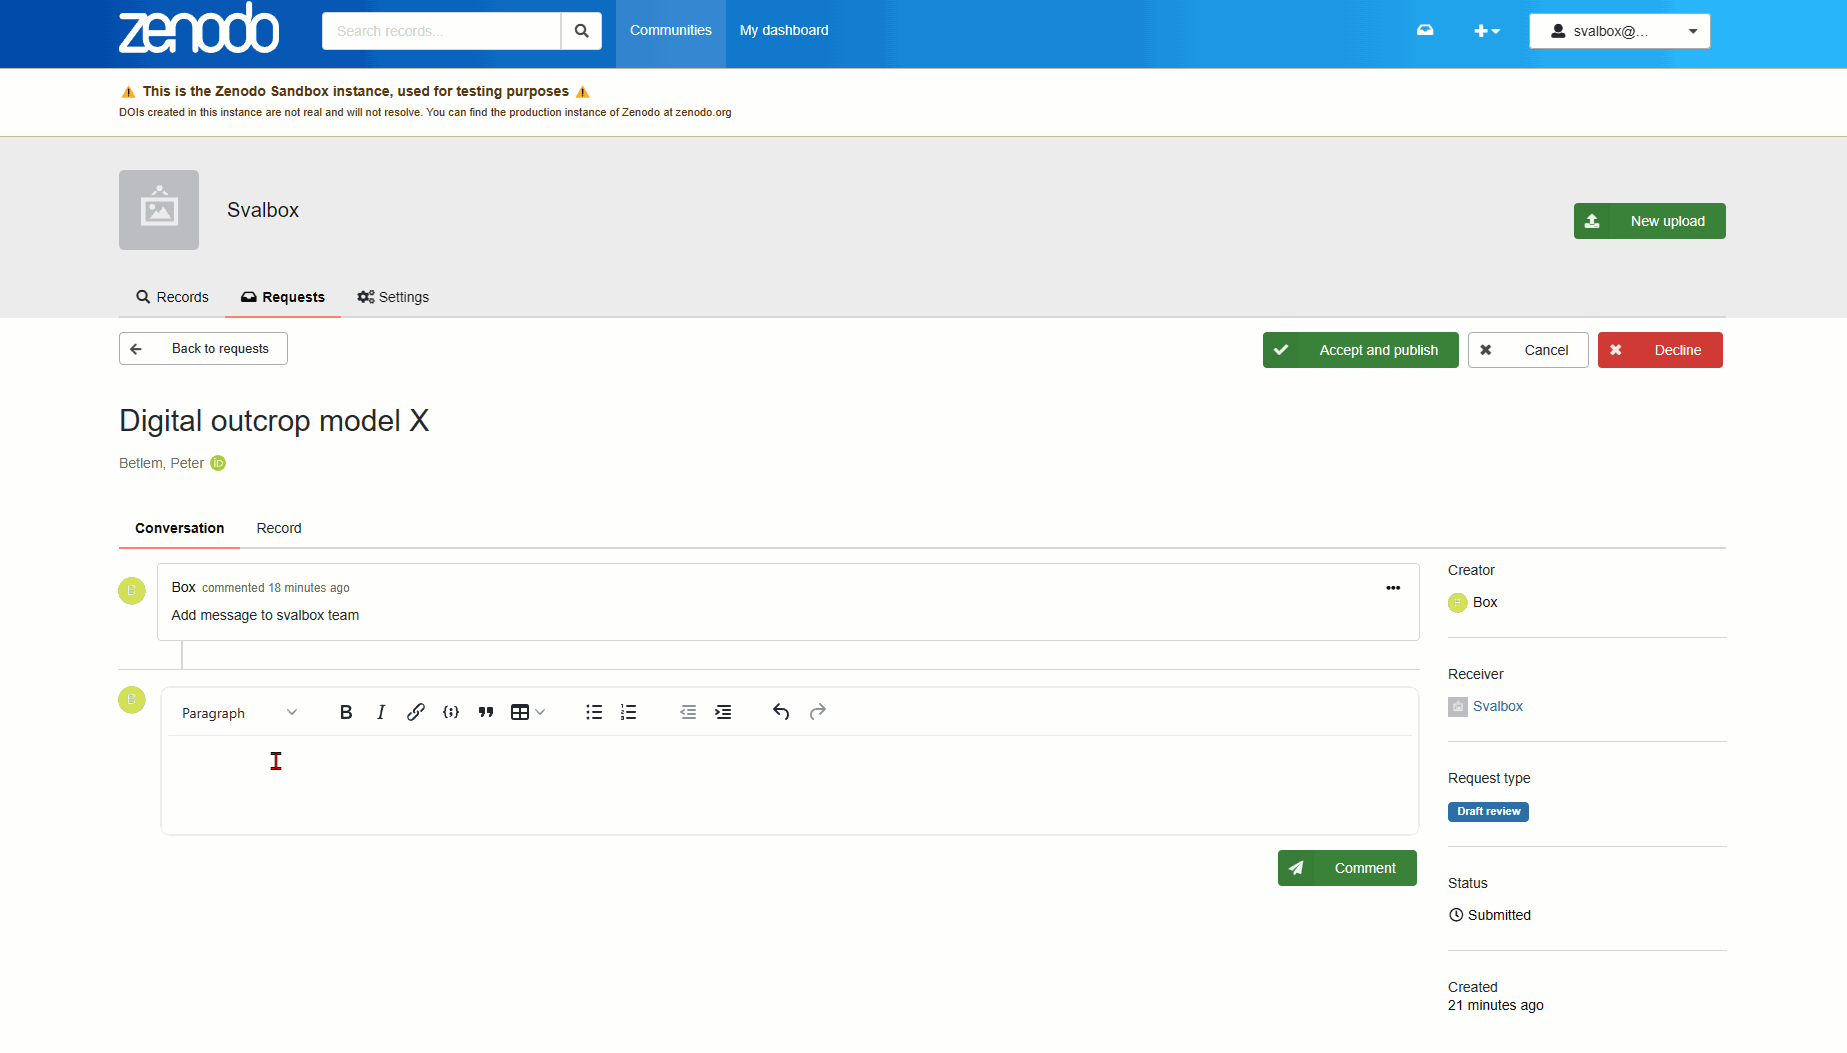
Fig. 10 Each data request contains a conversation/discussion portal in which managers can discuss improvements of the data sets with the end users. Through this portal users can also be notified of revisions that must be made to the data package prior to approval.#
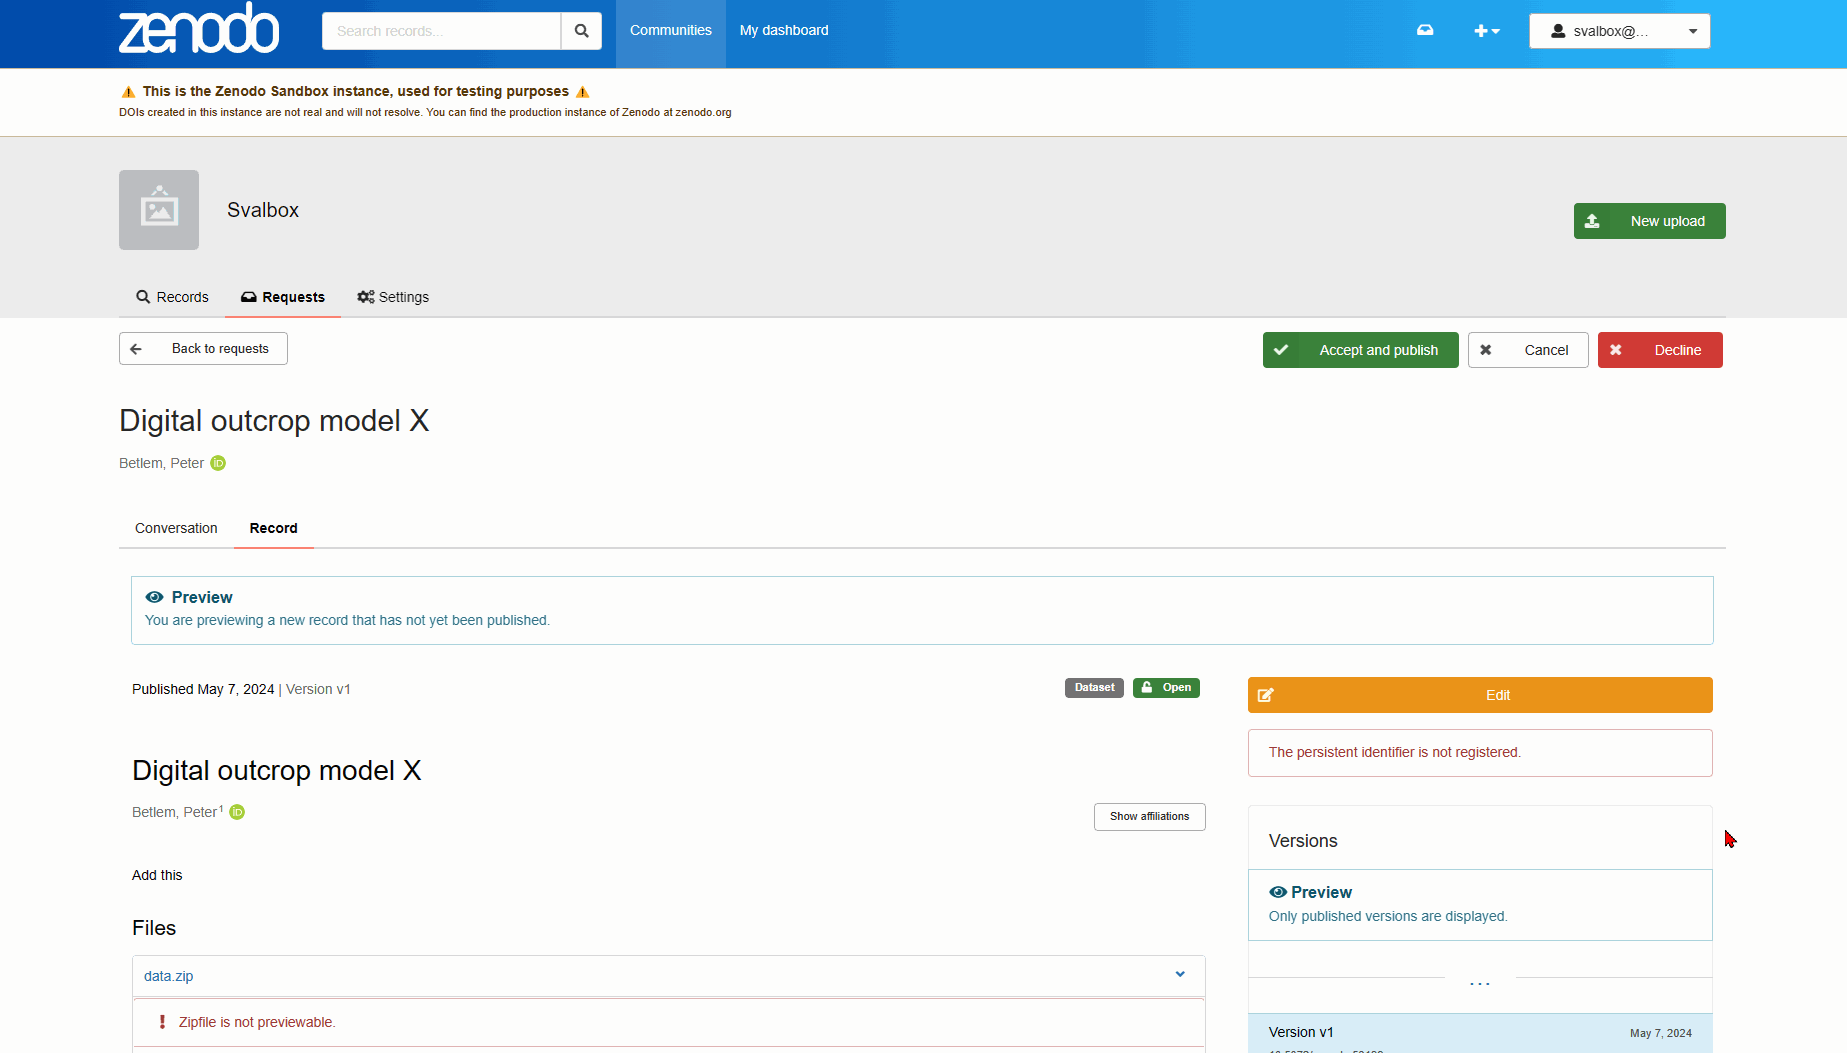
Fig. 11 Data managers can freely edit the submission and update metadata. Make sure to select Save draft rather than Accept and publish when doing so! The latter should only be done once the data have been inspected and curated.#
Fig. 12 Downloading data is easy - just download all in the submission at once and save it to your drive.#
Download, extract and update the config file
Once you have downloaded the full data set and unzipped all folders into the standardised environment, it it time to double check all contents and update the configuration file. The following steps are recommended:
Check the folder structure. Are all images there and in the right folders? Is there GNSS/gcp data? Make sure it is correctly placed. Are the processing reports present in both .html and .pdf formats?
Open the Metashape project. Make sure all files are correctly linked, no missing images are present, and only one chunk exists per project. Also generate the processing reports, if needed.
Check the export folder. If needed, export the mesh/model in .obj format using CRS = EPSG:32633 (the CRS used by the Svalbox DB).
Include the correct model/tiled model data in the export
Make sure to include both an .obj (+ textures!; EPSG:32633 crs; model files) and a .3tz format (tiled model files; Cesium 3D Tiles 1.1 format in Metashape export dialog).
Update the config.yml file. Add in the DOI (that means not doi.org/, but only the part that follows that) and update local path links where applicable.
Note the config.yml file path - as it is needed in the next steps.
Data/metadata missing?
Check everything the best you can - you are the last line of defence between faulty data being uploaded to the servers. If there are large errors in the data, notify the creator and ask them to fix the sources per Fig. 10.
Downloaded the full data set?
Once you have downloaded the full data set and unzipped all folders into the standardised environment, it it time to head over to the Svalbox DB management tutorial. That tutorial will explain how to process the data and upload the entry to the Svalbox Digital Model Database.
Successfully updated the Svalbox DB?
Only once all the steps detailed in Svalbox DB management have been completed, and the database entry has been updated with the new files/has been verified, should you press Accept and publish. That is the final step after which the data can no longer be updated/modified.