Softwares#
Visual Studio Code#
Visual Studio Code is an easy to use code editer that allows one to run and edit various file formats and codes. It is an easy way to interact with both code and file versioning, and we recommend its use to interact with various Svalbox code snippets.
Install the software via here.
Github & Github Desktop#
Github forms the backend for many software/codes/etc nowadays. This page (like Geo-SfM) uses Github as a backbone. All it takes is a Github account, which even comes with student and teacher’s benefits. In addition to allowing you to contribute and update these pages (Fig. 17), having a Github account is needed to access the various Svalbox codebases and solutions.

Fig. 17 This page uses Github as a backbone. All it takes is a Github account, which even comes with student benefits. Once connected, feel free to open an issue as per the above - whether suggesting improvements or highlighting bugs.#
Once you have set yourself up with an account, please contact the Svalbox data managers to add you to the Svalbox organisation, as well as any repositories that you need access to. You can then use Github Desktop (or any other means of using git) to create a local copy of the resources on your machine. Download Github Desktop here. Upon installation the software takes you through an interactive initialisation process.
Python#
Svalbox recommends using the Conda/Mamba python environment managers. A tutorial on how to install these is available here. Direct links for Windows, macOS and Linux are available through their respective links, otherwise.
After installing the software, we are ready to install our base environments.
Open the Miniconda/Anaconda Prompt software on your machine, which should open a terminal akin that in Fig. 18.
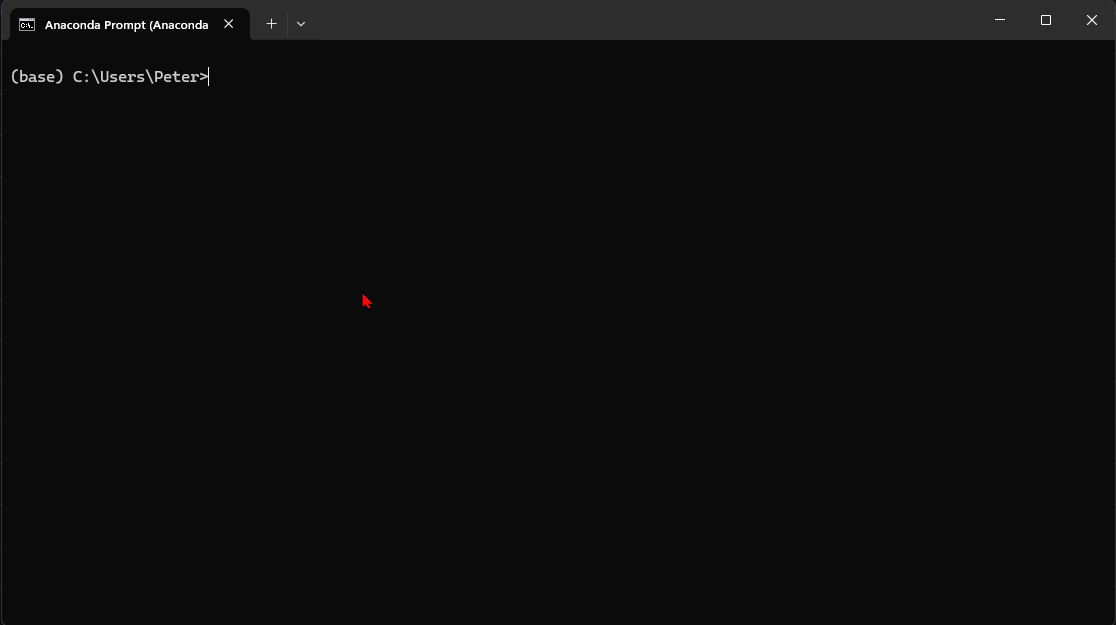
Fig. 18 The anaconda prompt acts similarly to any other terminal. Shown here is how to change your active directory through the cd command. It is important to proceed to the directory where you stored the Svaldropbox github repository on your local machine.#
The following command is used for that (make sure to change targetdir!):
cd {targetdir}
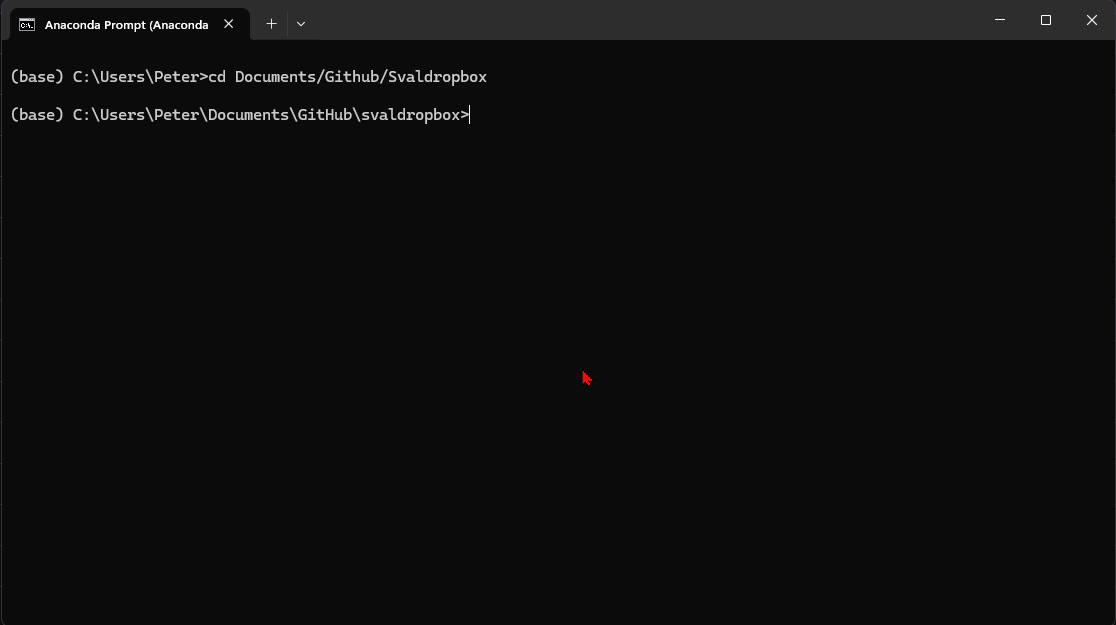
Fig. 19 Once in the correct directory, you can ask anaconda to re-generate the correct Python environment by specifying the .yml environment file as a reference.#
Once in the correct directory, you can ask anaconda to re-generate the correct Python environment by specifying the .yml environment file as a reference Fig. 19. The following command is used for that:
conda env create -f svalboxdrop.yaml
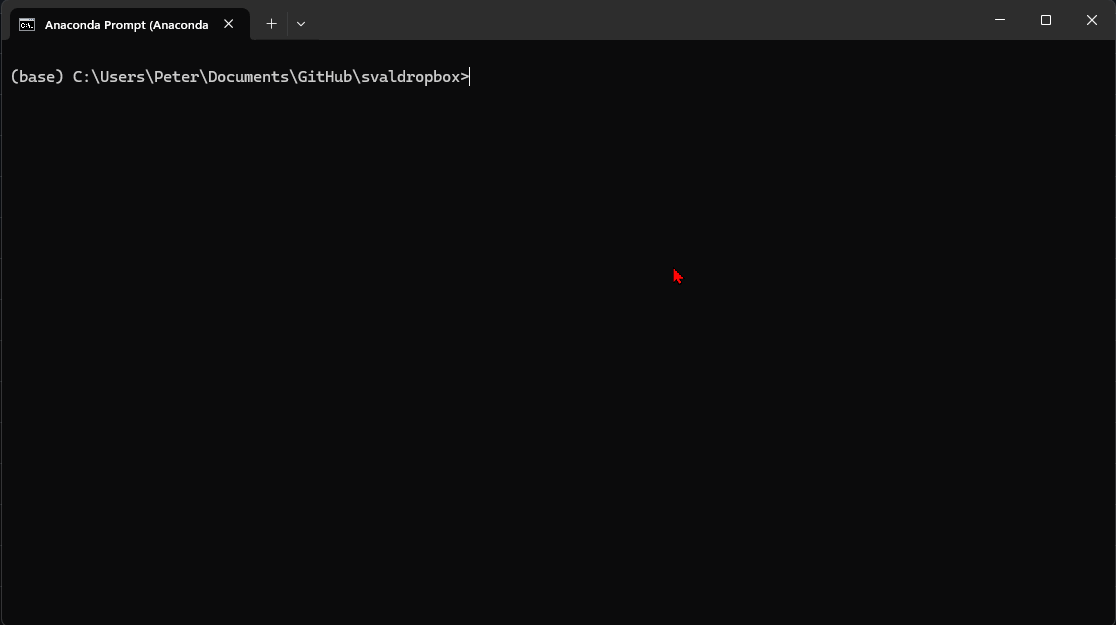
Fig. 20 You can then activate your working environment.#
You can then activate your working environment Fig. 20. The following command is used for that:
conda activate svalboxdrop
Once you are in the correct environment,